


Creating flavors in Ionic
In this second part of the article “Tips and Tricks if you really want to use Ionic” I’m going to exemplify how you can do product flavors (like in Android) using gulp tasks.
Flavors in Android allow you to create multiple versions for the same application (for instance one for a free app, another for a paid app).
In this example I’m gonna show you how to have at the same time a development and release application, and how you can switch between them with a gulp task.
First of all you need to identify what you want to change between these two versions, in this case it’s going to be:
- Application Name
- Package Name
- Configurations
- Icon
Starting with the configurations: the first step is to create a folder in the root of the project to save these configurations.
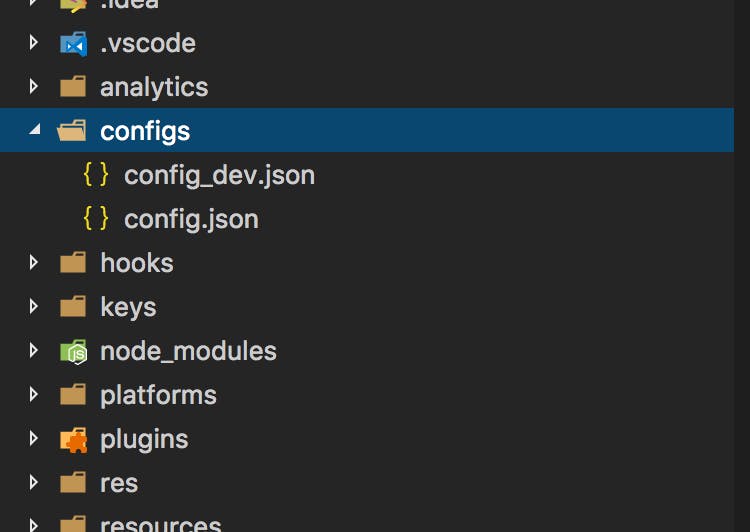
After that, you need to create a JSON file for each one of the versions.
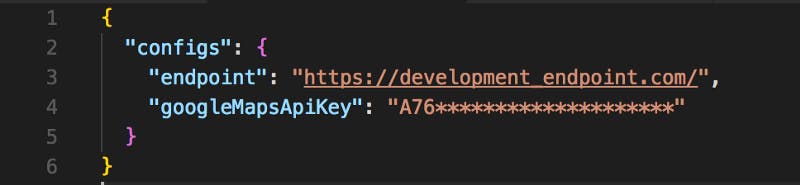
Development configurations (config_dev.json)
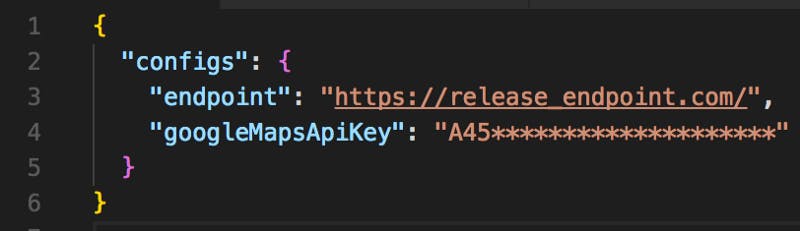
Release configurations (config.json)
Everytime you run a gulp task for a specific version you are going to create/replace the config.js file.
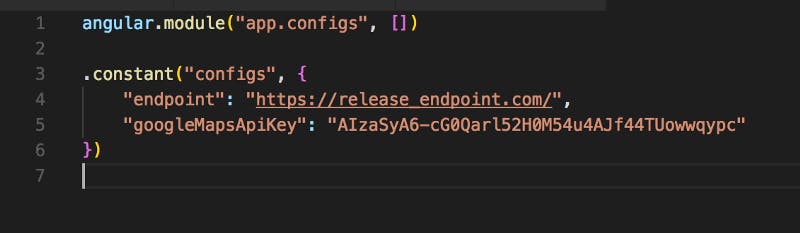
config.js
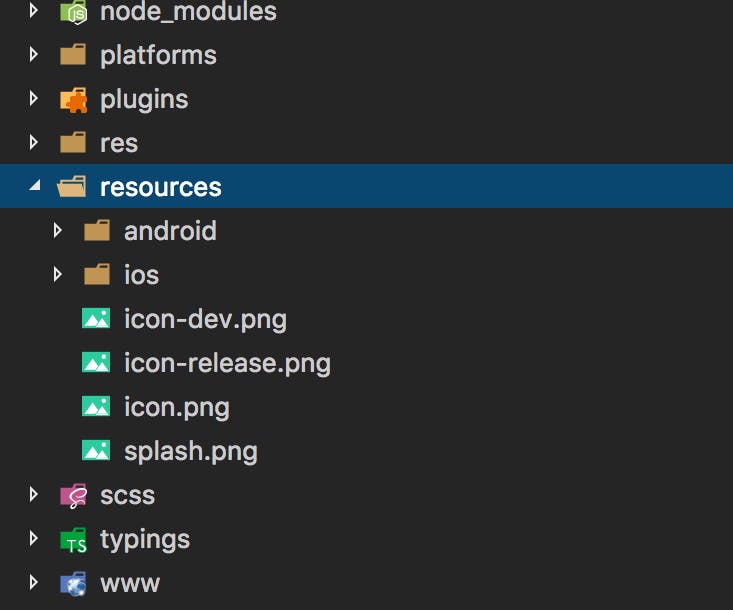
For the icon, you need to have a icon for each version as well, in this case you have to paste in the ‘resources’ folder the release (icon-release.png) and the development (icon-dev.png) icon.
When you run the gulp task for a specific version, you are going to replace the icon.png for the correct icon of the version.
After this you just need to create these tasks in gulpfile.js.
After you update the gulpfile.js you just need to run ‘gulp dev’ eveytime that you want a development version and ‘gulp release’ when you want a production version.
Hope you enjoyed it!